At a Glance
Paperback
RRP $54.99
$43.25
21%OFF
Aims to ship in 15 to 25 business days
When will this arrive by?
Enter delivery postcode to estimate
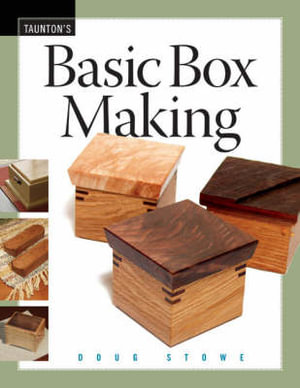
ISBN: 9781561588527
ISBN-10: 1561588520
Published: 30th January 2007
Format: Paperback
Language: English
Number of Pages: 160
Audience: General Adult
Publisher: The Taunton Press
Country of Publication: GB
Dimensions (cm): 27.6 x 21.6 x 0.9
Weight (kg): 0.59
Shipping
| Standard Shipping | Express Shipping | |
|---|---|---|
| Metro postcodes: | $9.99 | $14.95 |
| Regional postcodes: | $9.99 | $14.95 |
| Rural postcodes: | $9.99 | $14.95 |
How to return your order
At Booktopia, we offer hassle-free returns in accordance with our returns policy. If you wish to return an item, please get in touch with Booktopia Customer Care.
Additional postage charges may be applicable.
Defective items
If there is a problem with any of the items received for your order then the Booktopia Customer Care team is ready to assist you.
For more info please visit our Help Centre.
You Can Find This Book In
![Collins Complete Woodworkers Manual [Revised Edition] - Albert Jackson](https://www.booktopia.com.au/covers/200/9780007164424/2022/collins-complete-woodworkers-manual-revised-edition-.jpg)
RRP $59.99
$39.35
OFF

RRP $42.99
$36.50
OFF
RRP $55.00
$39.90
OFF

RRP $34.99
$24.75
OFF

RRP $39.99
$29.90
OFF

RRP $69.99
$47.35
OFF

RRP $34.99
$31.25
OFF


RRP $27.99
$26.50


RRP $49.95
$33.90
OFF

RRP $19.99
$11.75
OFF
RRP $62.99
$42.95
OFF


RRP $90.00
$78.25
OFF


RRP $42.99
$31.75
OFF

RRP $34.99
$31.75
